Category Archives: Church quilts

Church quilt part 5

Standard

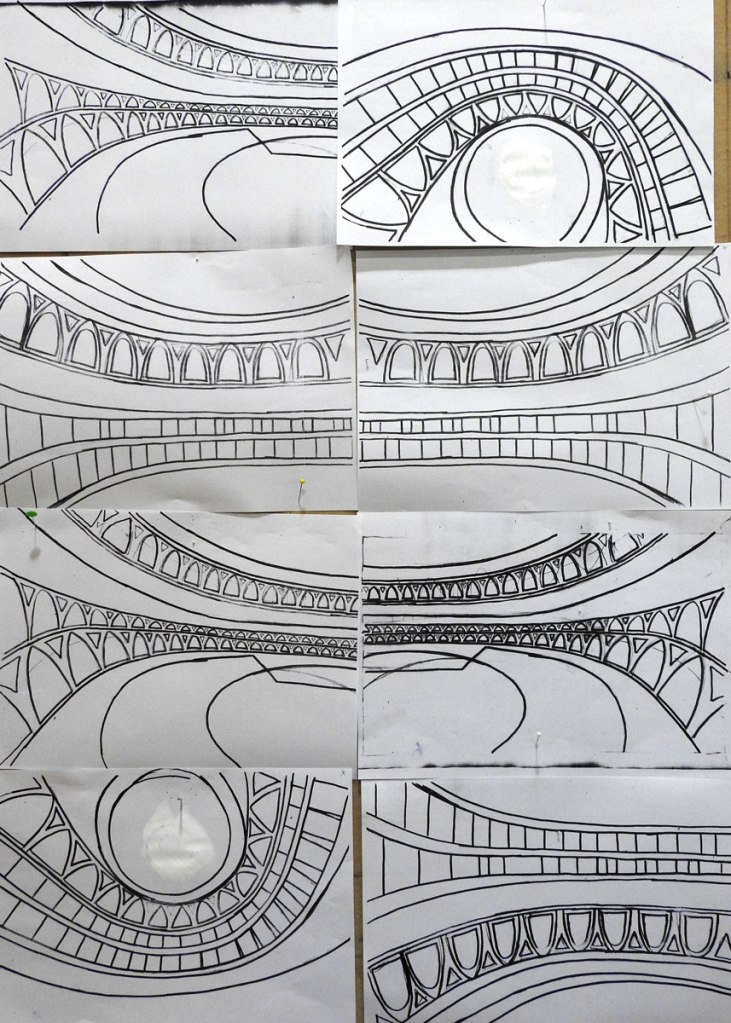
SURFACE DESIGN- layering

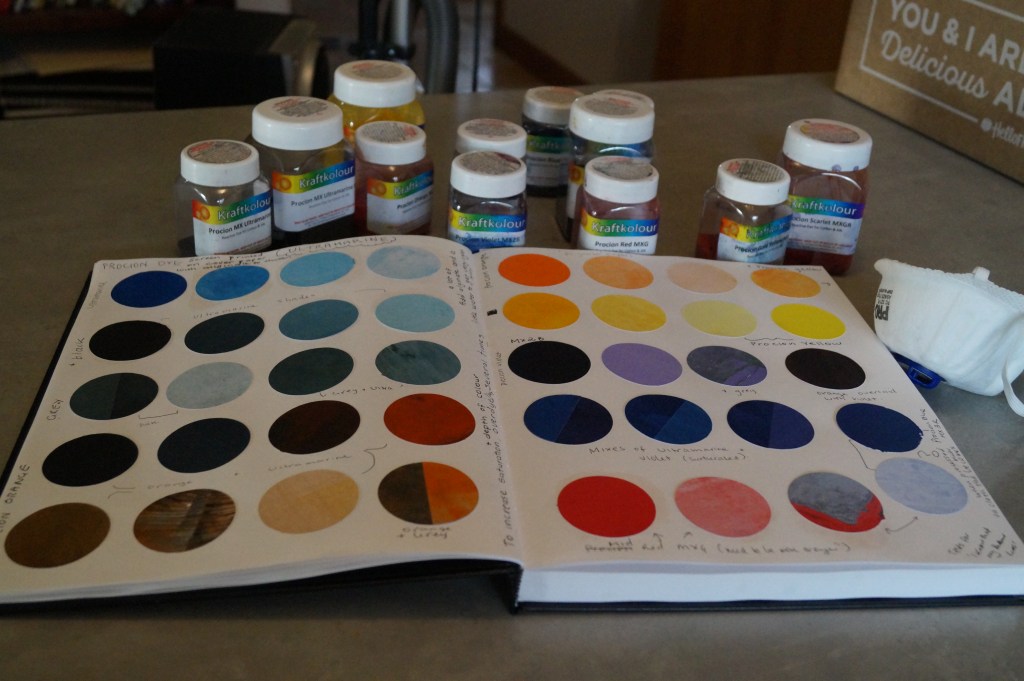
Dyeing and overdyeing the fabrics

Layer one is a very pale tint of the colours. I have used an open screen with thickened Procion dyes and tried to vary the saturation by adding some weak darks/complements. I want to get rid of all the white, but retain some value contrast.

Here I have added a resist to some of the pieces using some soy wax with a tjanging.

The one in the front is done with a pastry cutter.

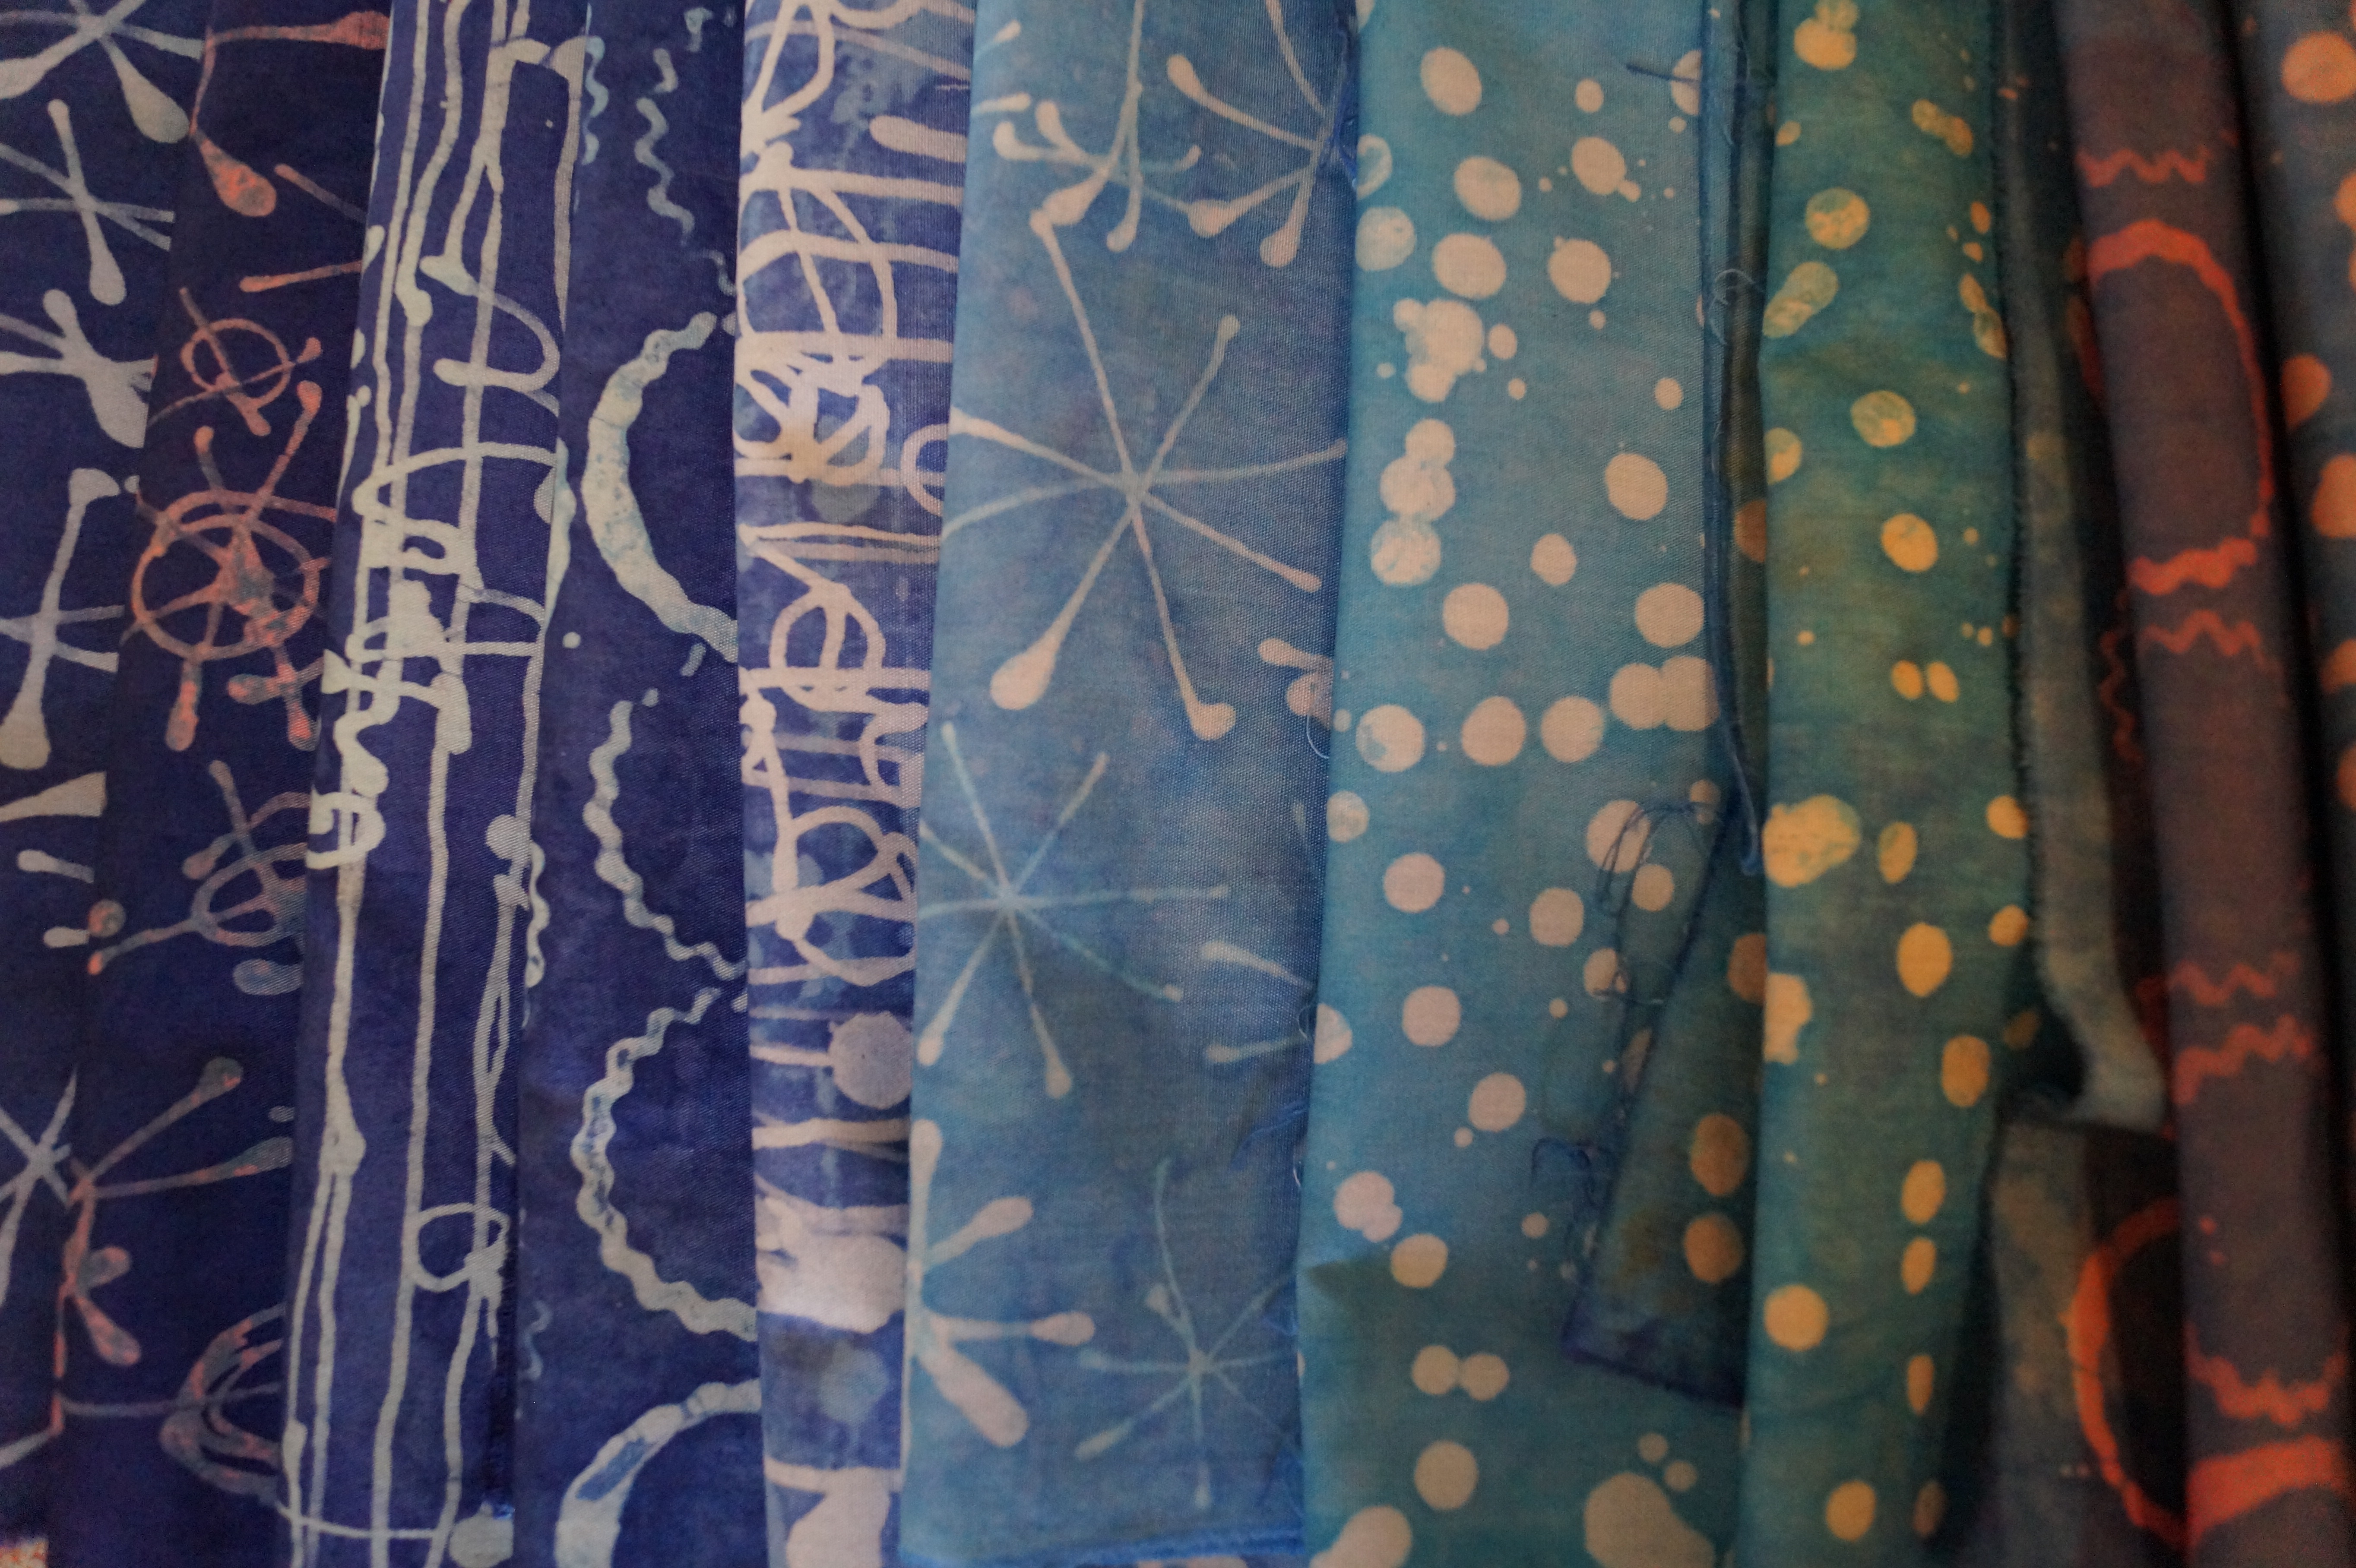
Overdyed with a stronger solution of the same colour palette. These are lovely, but perhaps a bit busy- I may not use them. I have still plenty of plain overdyed fabric I can experiment with.

The cats think I’ve made this little cubby house for them, but its really for batching the fabric!

Church Quilt part 4

Standard

COLOUR STUDY

I have decided to use hand dyed fabrics for this project. I like the way you can mix and control your own colour palette and I am comfortable with the process of screen printing with thickened Procion dyes. Dyes have a lovely translucent quality and can be manipulated in a number of ways- overlaid, discharged and broken down.

To test the dyes I have screen printed them in different tones and saturations, onto cover paper and cut out swatches. I did try to use the thickened dyes on a geli print plate, which did not work.

I have tried to stick with a limited colour palette: blue, orange, and violet. But couldn’t resist trying a little yellow and red.

Next blog I will be trying out some surface design techniques with imagery.

Church quilt part 3

Standard

This is where I will be planning the overall design. Some people let the process lead them to a design, which I very much admire. I don’t seem to get very far when I use this approach.

I am using the archways tracing. I will photocopy it, then enlarge, reduce, or rotate the archways. Using A4 size paper makes the calculations for enlargement easier. The photocopier is my best friend in designing.

The final design (after a lot of mucking about). The plan is to have writing along the curves and different things in the windows.

I have my own checklist that I sometimes use and is useful to think about various options before beginning a project, have a clear plan to work towards (that can deviate along the way if required) and most important of all to remember my original intent.

The most important thing is to feel very excited about the project- art quilts take a lot of time, effort and money to make. If you are not excited in the beginning, you are not going to have the momentum to see the project to its fruition.

Next week I will be working on some colour plans.